Setting up the Programming Environment (Console)
To create programs, it is essential to establish a suitable programming environment where both programming and compiling are possible. In the following sections, I will explain how to set up such an environment.
It is generally possible to program directly on the Raspberry Pi. For this, an operating system must be installed to serve as a development environment. However, this can be challenging when it comes to writing an SD card for the self-created kernel, as the SD card slot might be blocked by the operating system. One solution is to use an external USB SD card reader. Nevertheless, I will not cover this option since a host computer should be available at least for the initial communication. If not already mentioned, it is advisable to obtain a USB-to-TTL serial cable for later experiments.
Since we have decided to use another computer for programming, many face the issue of not having an ARM-based computer. I will describe two methods for how this can work under Windows or Linux. These computers typically use x86 processors, which are significantly different from ARM processors. To make this work, we need a cross-compiler. ARM provides the GNU Toolchain for this purpose, which we will use.
As Windows and Linux have different requirements, I will describe both methods in the following sections. You can then decide which path to take. The instructions will converge afterward.
Guide to Installing MSYS2 on Windows 11
Windows and Linux don't usually work well together, even though there are now ways to run entire Linux distributions on Windows machines. However, we will take a different approach and create a small console application where the corresponding UNIX commands work under Windows.
Installing MSYS2
MSYS2 is a type of console that allows using software from the Unix world on Microsoft Windows. This is ideal for our requirements.
Downloading and Installing MSYS2
Download the latest version of MSYS2 from https://repo.msys2.org/distrib/x86_64/ as an EXE file. Run the installer and follow the instructions. It's best to keep the default settings to make it easier to follow the guide.
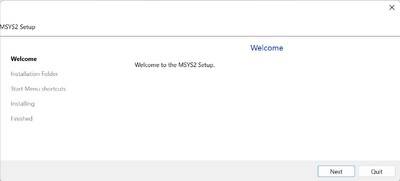
Click “Next”. Keep the default directory to make the later installation of our components easier. If you change it, be sure to remember the installation directory.
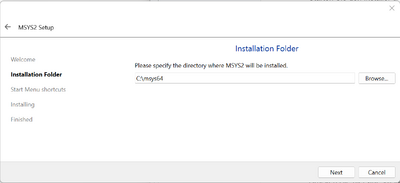
Click “Next”.
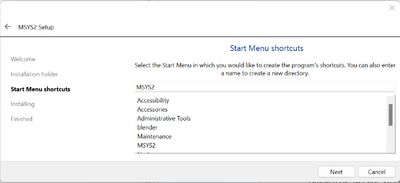
Click “Next” again to start the installation.
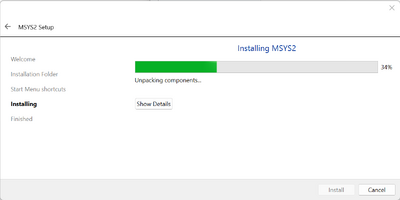
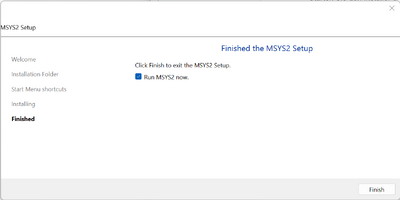
After the installation is complete, start MSYS2 by keeping the “Run MSYS2 now” option checked and clicking “Finish”:
Updating the Package Database and Core System Packages
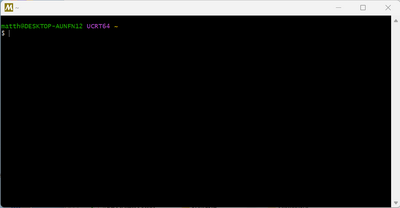
Once the console appears, enter the following command to update the package database and core system packages:
pacman -Syu
Confirm the prompts with "y". After this update, the console will close. Restart the console (Windows key -> MSYS2 64bit -> MSYS2 MSYS). Install the remaining updates with the following command:
pacman -Su
Installing the Programming Environment
Now the console is ready. Install the standard programming environment with the following command:
pacman -S make base-devel gcc binutils gdb
Confirm everything with "y".
Verifying the Installation
Test if the installation was successful by entering the following commands:
gcc -v
make -v
After these steps, your MSYS2 environment should be ready to create and compile programs. However, this is not yet sufficient as we do not have a cross-compiler installed. The chapter "Raspberry Pi 4" describes the installation of a 32-bit compiler, while the chapter "Raspberry Pi 5" explains the setup of a 64-bit compiler.
A Text Editor
To create our source code, we need a suitable text editor. While this is possible with the Windows editor, an editor with syntax highlighting is much more comfortable.
I recommend Notepad++ for this: https://notepad-plus-plus.org/
Save the created files later in the directory C:\msys64\home\user, where "user" is a system-provided name. Of course, you can also create subdirectories to better organize your files.
| < Back (Basics of Assembly) | < Home > | Next (Setting up the Programming Environment (64-Bit)) > Next (Setting up the Programming Environment (32-Bit)) > |